On Ravelry and new horizons

Since even before I started designing knitting patterns, I was a member of the Ravelry community. (Ravelry is a huge database and selling point of knitting, crochet and other fibre-related patterns). It was always a go-to point for browsing and being inspired by original designs as well as a community of people who always had an answer for any question. It had also always seemed like an ethical, accessible place to be, proudly supporting minorities and expelling supporters of extreme views.

This is why the recent changes to Ravelry have been so hard for a lot of users. The site has been re-designed and the changes have affected quite a number of users negatively. For example, some users have reported it causing migraines and even seizures. The response to this by Ravelry has been disappointingly slow and dismissive. There has been a lot of upset, accusations and a recent apology from Ravelry. However, there have been no improvements as yet to the changes that are affecting people.

This is why I have decided to start promoting, testing and selling my patterns elsewhere. I already use LoveCrafts to sell my patterns but I am currently figuring out other ways to do so myself, including Payhip. (This may take a while as I have only managed to upload one pattern on there so far).

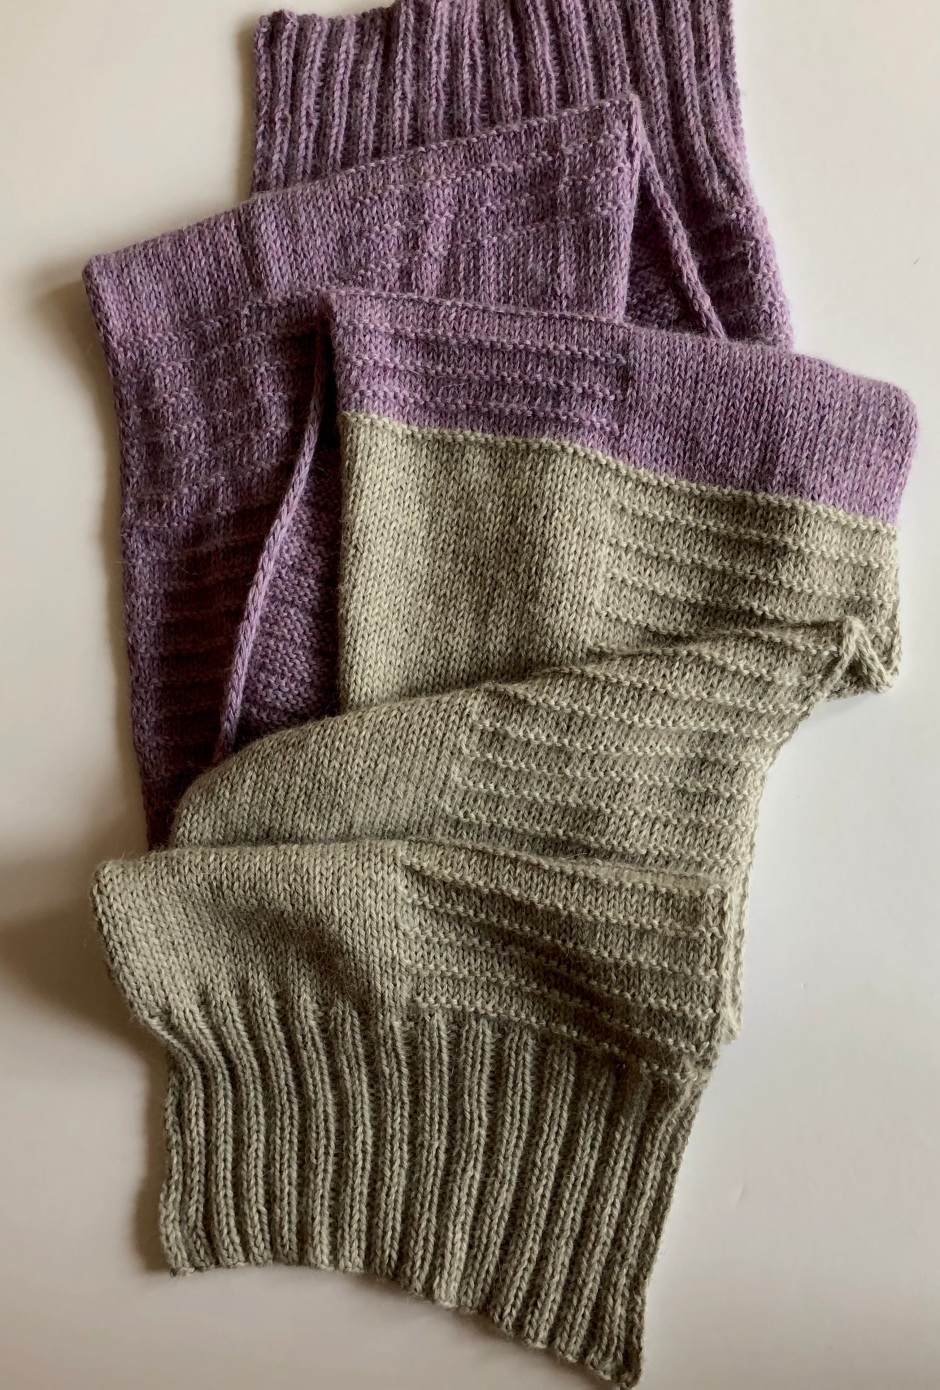
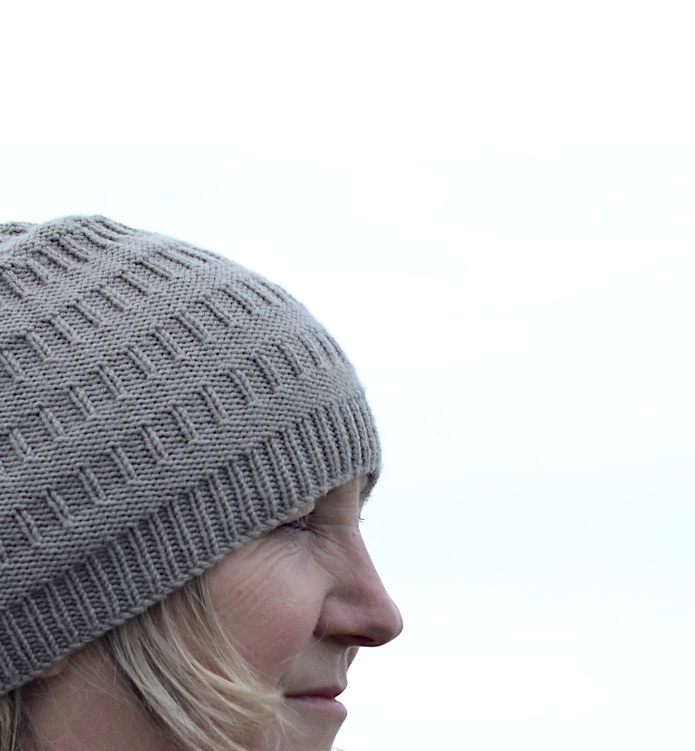
I have also begun using Yarnpond to test knit my designs and have posted my latest call for test knitting this hat on there:

IMG_3121

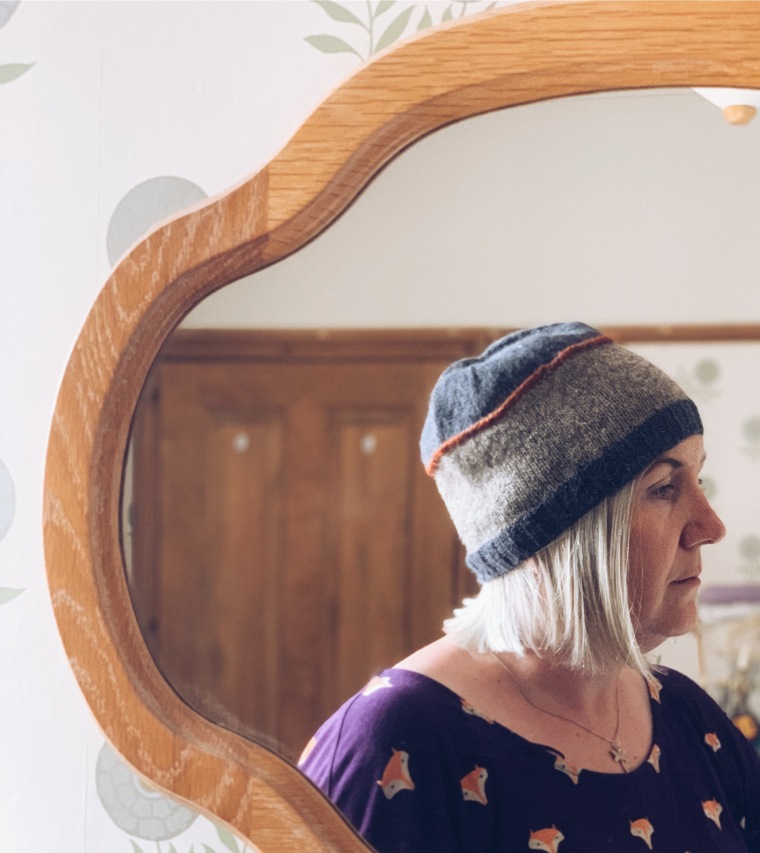
If you are interested, the test call is here.

I will be interested to see how this test goes and if it makes any difference to my usual test knitting process (which I always did through Ravelry previously).

I am not yet sure whether I will stop using Ravelry completely going forward, but for the moment, I am interested to see what happens with alternatives means.

I would be interested to know in the comments if you have any other off-Ravelry resources or pattern selling ideas!


Racism in the fibre community.

A very thoughtful blog post about racism in the fibre community – please take some time to read and support BAME/BIPOC makers if you can.

The Blue Brick | Inspired Yarns

So far, I’ve stayed out of the discussion on IG about racism and inclusion in the knitting world. I’ve never made a secret of the fact that I’m brown in my posts, or that my family is multi cultural. I grew up in the diverse city of Toronto, and felt that I hadn’t really experienced racism in any meaningful sense. 

I also personally didn’t connect with a lot of the rhetoric, which didn’t seem conducive to positive change, and in some cases felt tantamount to bullying. I’m all for education, not shaming. I’m all for that which unites us, and against that which divides. I wasn’t personally a fan of having folks who were obviously well-intentioned with their hearts in the right place feeling super guilty all of a sudden for the circumstances of their birth. Historically, I’ve had way more trouble being a woman than I have being…

View original post 1,118 more words

Semitone scarf

Sometimes pattern designs start from a particularly lovely yarn or colour, sometimes they come into your mind fully formed (not often for me – it would be nice!) and sometimes there is a particular detail or stitch you want to use and it takes some time and experimentation to get to use it in a fully fledged design.


I have wanted to design a scarf with ribbed ends for quite a while – I’ve also had some lovely soft Juniper Moon Farm Herriot Heathers yarn sitting in my stash for a couple of years – stubbornly not telling me what it wanted to be…


So when I came across another skein of the same yarn in a different colour in a charity shop a couple of months ago  I got down to proper thinking and swatching and eventually (after a few false starts – as usual) I came up with the Semitone Scarf.


Semitone scarf

I wanted something simple, with clean lines and a bit of texture. I started off thinking I would carry the garter stitch lines which run up one half of the scarf right to the end on the same side. As I was working on it however, the difference in the gauge between the two sides became more pronounced as the scarf got longer and I decided it would be more even if the garter lines were swapped to the other side for some of the scarf. This turned out to be a much better look I think!


So, here is my latest free pattern for you lovely knitters who need a cosy scarf this winter…

Semitone scarf detail

Materials needed

Basically, you can make this scarf out of any yarn you have enough of for the length you want – I used 3 skeins of Juniper Moon Farm Herriot yarn, which is DK weight and 218 yards per 100g skein and 4mm (US 6) needles. This made a scarf which is 28cm/11″ wide and 199cm/78″ long (nice and long for wrapping around you on a wintery day!)

But – you could use anything really, as long as you end up with enough fabric to wrap around your neck!

Notes

Sl2 purlwise wyib = slip the next 2 stitches from the left needle to the right needle as if to purl them with the working yarn at the back of the needles.

Sl2 purlwise wyif = as above but with the working yarn in front of the needles

Directions


Cast on 62 stitches.

Ribbing –

1st row:  K2, P2, rep to last 2 sts, K2.

2nd row: P2, K2, rep to last 2 sts, P2.

Repeat these 2 rows until you have around 12cm/5″ of ribbing.

Body –

1st row: Knit to last 2 sts, Sl2 purlwise wyib.

2nd row: K2, purl to last 2 sts, Sl2 purlwise wyif.

3rd row: repeat 1st row.

4th row: K2, P29, knit to last 2 sts, Sl2 purlwise wyif.

Repeat these 4 rows until you are almost finished your first skein or ball (with enough for a few rows left), finishing on a 3rd row.

Full ridge row: K to last 2 sts, Sl2 purlwise wyif.

Adding 2nd skein/ball of same colour when required, continue as follows:

5th row: K to last 2 sts, Sl2 purlwise wyib.

6th row: K2, purl to last 2 sts, Sl2 purlwise wyif.

7th row: repeat 5th row.

8th row: K31, purl to last 2 sts, Sl2 purlwise wyif.

Repeat the last 4 rows until you are almost finished your 2nd skein/ball (with enough left for 1 row and weaving in the end).

Repeat Full Ridge Row.

Change to 2nd colour.

Repeat rows 1 to 4 until you have the same amount of half ridges worked with your first skein/ball before the first full ridge row.

Ribbing –

1st row:  K2, P2, rep to last 2 sts, K2.

2nd row: P2, K2, rep to last 2 sts, P2.

Repeat these 2 rows until you have around 12cm/5″ of ribbing.

Cast off and weave in ends.

The slipped stitch selvedge should help the scarf stop curling but you will probably find it helpful to block your scarf too. This will also make the fabric look smoother and more finished.

The finished scarf reminded me of a long piano keyboard with it’s different sets of ridges (or ‘keys’) which is why I called it the Semitone Scarf.


Happy scarf knitting!


Learning as I knit

There are so many knitting techniques I still haven’t learned yet, sometimes I think I will never learn them all. However, I have decided that a good way to try to learn them all is to incorporate a new technique into each new design. There are so many that this has come quite naturally so far. Here is what I’ve been doing recently and the new (to me) techniques they use.


Faileas cowl

This is my Faileas cowl (faileas is a Scottish Gaelic word meaning reflection or shadow). I used linen stitch in this cowl for the first time. I really loved the woven effect of the linen stitch, although it is a bit slow when you are knitting in fingering weight…

My most recent design is still in progress as I’ve decided to change the length of the sample. And it is a garment for a change!

Minack top

I have used this stitch pattern before, in my Minack Hat, so this particular pattern was not new to me, however, I used a three-needle-cast-off for the first time on the shoulders. I loved how the seam turned out with this method and will definitely use it again.

3 needle cast off

Hopefully, I will be arranging a test knit of this pattern soon, once I have cut and spliced it to shorten it! (Another new technique…)

If you would like a chance to test knit the Minack Top or any other new designs I am test-knitting in the future, you can follow my Instagram account where I post test-knit calls.

Does anyone else like to learn new techniques as they knit?

Hats All

I recently realised that I tend to design in phases. I only realised this as I’m entering my third phase – two phases wasn’t enough for the penny to drop really, but three makes it definite.

When I first started designing knitting patterns, I was obsessed with designing fingerless mitts (or wrist warmers, muffatees, whatever you like to call them). I think I enjoyed these as I love to wear them and also there is the challenge of making something small but stylish that is also practical and there are so many different ways with cuffs, thumbs, gussets etc.

Lossie Mitts – my favourite fingerless mitt design

Then I discovered the joy of designing cowls (snoods, infinity scarves…) and I loved these as I could play around with stitch patterns without worrying about increasing/decreasing or thumbholes etc. This is the phase where I think I started to find my particular design style.


The Lightning Hills cowl

Now I have moved on to hats. And the move was pretty much by accident – I had an idea for a pair of fingerless mitts (because sometimes I move back and forward between phases…) with a particular stitch pattern. I submitted the idea to a publication but it was unsuccessful. Then a friend got in touch asking if I could knit her a hat, with a picture of a slouchy beanie as an example of the kind of thing she wanted. I realised that the stitch pattern I had in mind would be perfect for a hat like this and a new knitting phase was born!

IPJl+e8aQIiDbDbxdjorfw_thumb_62
Bookshelf Beanie


Although not deliberate, I feel like this is a progressive learning experience for me. I’m picking up new methods and gaining experience with every different phase.


Presumably the last phase is jumpers (although my very first design was a child’s jumper – exception to the rule!) but I’m wondering what will be next? I am still enjoying designing hats for now though and have just finished my second design, which I hope to have test knitted soon.


Does anyone else find they go through design phases like this? I would love to find out about it!


Happy knitting everyone!


the knitting moon x

25th Pattern Ahoy!

I’ve just released my 25th knitting pattern on Ravelry. For some reason this seems like a massive milestone to me. It may be because I’ve read about designers having great upturns in customers at 25, 50 and 100 patterns… but I don’t think this pattern is going to do that for me as it’s not a hugely popular category. I think it just feels like a good number of patterns to have. A quarter of a century of knitting patterns… It may also be because I’m so slow at finishing and releasing patterns, every round(ish) number feels like an accomplishment.


Anyway, to the pattern!

It’s a wee bag, I designed it for taking with me when I walk my dog…

Roary the dog


But it would work as a project bag or even for festivals (which was the original purpose of the bag I was replacing!)


It’s called the Highweek Bag after my favourite local dog-walking area.


Highweek Bag

I have been using it often since finishing it and it’s surprisingly sturdy (I wasn’t sure how well the pockets or drawstrings would hold out with heavy stuff in but they have been key, heavy purse and full juice bottle carrying heroes!)


As this is my 25th pattern, I decided to have a 25% off sale of all my patterns on Ravelry which goes on until the 25th of August. If you’re not keen on the bag, why not have a look a some of my other patterns while the sale is on…

Now, I’m already working on numbers 26 to 30…


For all you dog lovers, here’s one last doggy pic!


“What’s happening over this wall and why aren’t I invited?”


Yes, I know it’s summer, but I have been knitting a scarf…

…I did start it in the winter though. So if you fancy trying to knit this scarf and you’re anything like me, you might want to start it now!


I have been a bit obsessed with reverse stocking stitch stripes recently, ever since I was almost finished this scarf (with the ‘right’ side out) and decided it looked better with the ‘wrong’ side out. Now I’m pretty much knitting everything in reverse stocking stitch stripes. Don’t worry, it will pass once I’ve found a new obsession, much like my obsession with welts (though I still love a welt).


Pictures!


Pattern!


You will need: 3 X 50g in white, 2 X 50g in blue and 1 X 50g in orange. Or any other colour combo you like. I used DMC Woolly in shades 01 (white) and 102 (orange) and Sublime Extra Fine Merino in shade 363 (indigo) for the blue. These are all DK weight, you can use any yarn you choose although different weights will result in a different size scarf of course. Mine is 240cm long (excluding fringe) and 16cm wide.

You will also need a 4.5mm (US 7) circular needle (or whatever size suits your yarn weight) and knowledge of magic loop as this scarf is knitted in the round. See my tutorial here if you are not sure how to do magic loop. You will also need a smallish crochet hook for the fringes.

Note: As the whole thing is reverse stocking stitch you can just knit it the usual way (knitting every round), with the ‘knit’ stitches facing outwards and the ‘purl’ stitches on the inside, then turn it inside out at the end. For this pattern, I’ve called the ‘knit’ stitches the ‘wrong’ side and the ‘purl’ stitches the ‘right’ side. Just make sure you leave your yarn ends on the outside or ‘wrong’ side as you go.

Cast on 72 sts in your blue yarn.

Join in the round.

(Knit every round.)

Knit one round in blue.

Switch to white, knit one round.

Continue working the last two rounds until the blue yarn runs out.

After the next white round, switch to orange.

Continue in the same manner until you have a few yards of orange and white left (enough for a fringe).

Cast off.

Secure your ends, making sure they are all on the ‘wrong’ stocking stitch side – you don’t need to worry too much about weaving them in as they will be on the inside of the tube. Then turn your tube ‘right’ side out.

Make an orange and a white fringe. I like to use a greeting card – wrap the yarn around the card right along it’s length, cut the yarn at the opening side of the card, you then have even lengths for fringe making.

Close the ends of the tube with your fringes, orange on the blue end and white on the orange end (or you could do blue on the orange end if you prefer and have some left). Using a crochet hook, poke it through both sides of the tube between the first and second round. Grab the loops of two bits of yarn folded in the middle. Pull the loops through and then pull the ends of the yarn through the loop and tighten. Make one fringe loop every other stitch or it will stretch out your scarf end.

You are finished and can now flounce around in your scarf. Then take it off, block it like a proper knitter and flounce around again.

Ta da!


Testing, testing

I’ve recently decided to try to be more of an all round, professional, efficient designer. So far I’ve begun streamlining my Etsy and Folksy shops (concentrating on uploading patterns rather than selling items to order) and trying to pay more attention to the social media side – I’ve been using  Instagram a lot more (it’s become my favourite social site…) and I’ve gotten round to creating a dedicated knitting facebook page at last.

The biggest change I’ve made though, is in having my designs test knitted through Ravelry. I’ve always either test knitted them myself or asked someone I know to do it offline. But I still always had those nagging doubts when I’d send the pattern out there… Is it good enough? Have I missed something? Will someone come back to me and complain? Having strangers test knit has definitely helped with this. I feel much more confident about releasing a pattern that has been thoroughly gone over by others!

This is my latest pattern which has been test knitted:

You can find the pattern on Ravelry or in my Etsy shop.

I’m having another design test knitted as I write. I thoroughly recommend the test knitting process to any new designers. I tried using the Free Pattern Testers thread on Ravelry for the cowl shown above. This is a heavily moderated thread which has quite strict guidelines on what and how you and your testers post. Great for a first try if you’re not sure exactly how to go about it. I am now trying out The Testing Pool which is much more relaxed – it’s basically up to you to set out your expectations and conduct your test as you see fit.

So, what’s the next step for the all-new professional Knitting Moon??? Well, right now, I have 22 patterns in my Ravelry store – I’m aiming for the magical 25 pattern milestone and trying to make myself release a pattern every month…Not sure if I’ll be able to keep that one up but I’m going to give it a try.

Anyone else have test knit tips or stories? I’d like to hear them.

Recently

Just a few random things I’ve been up to recently…


We went to Scotland for Christmas – the long way! But it was worth it to see views like this on the way…


Rainbow over Loch Linnhe


We had a lovely time with friends and family…the Wee Man went ice skating for the first time on his birthday…


Getting the hand of it
Getting the hang of it


…and we enjoying a few good dog walks in Lossiemouth…


dsc_0033 dsc_0026


I tried air-drying clay presents for a few friends and Dylan’s teachers this year…


img_1023 img_1033


I knit the Big Man his first pair of socks by me…


img_1345


(Sock pattern here)


I knit something for myself using Noro for the first time…


img_1350


(It ended up as a long infinity scarf with the addition of some solid coloured merino wool)


And finally…I’ve begun a new design…


img_1377


Which I will probably go into more detail about once it’s finished!


Happy 2017 to you all!